Add financial records with income list through Add income
Here’s how it works in simple steps:
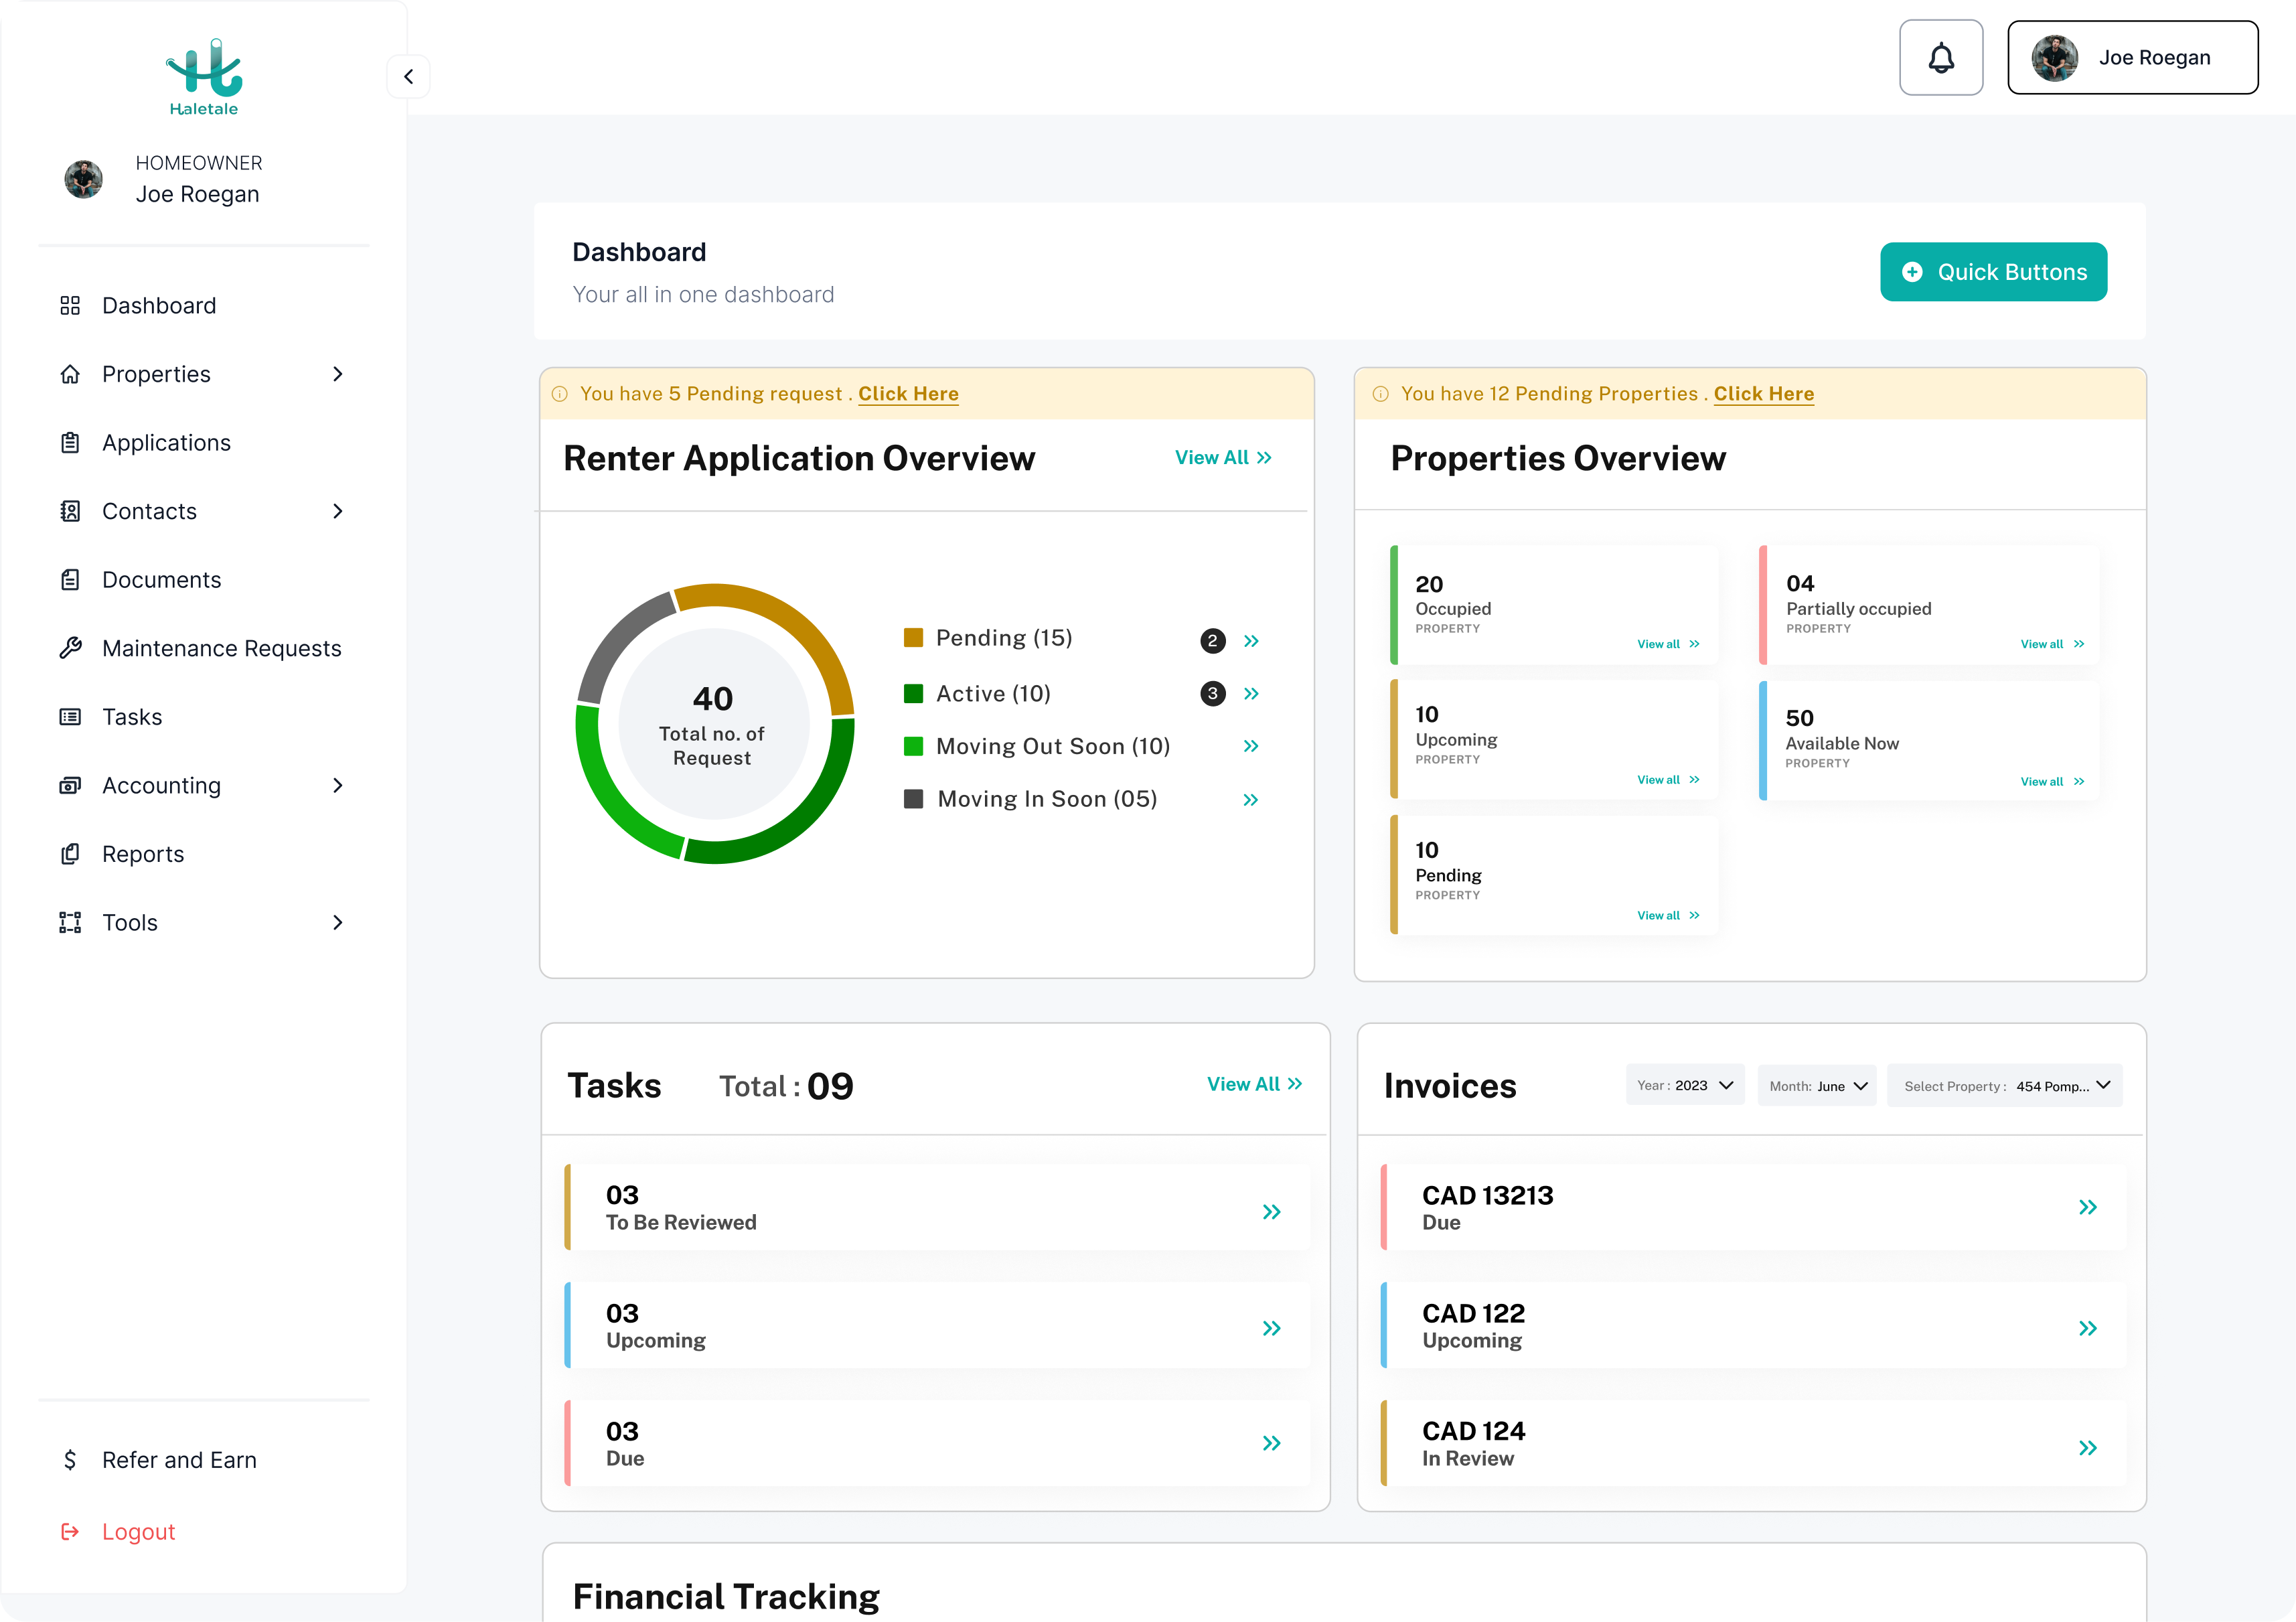
- In the Dashboard click on the left sidebar
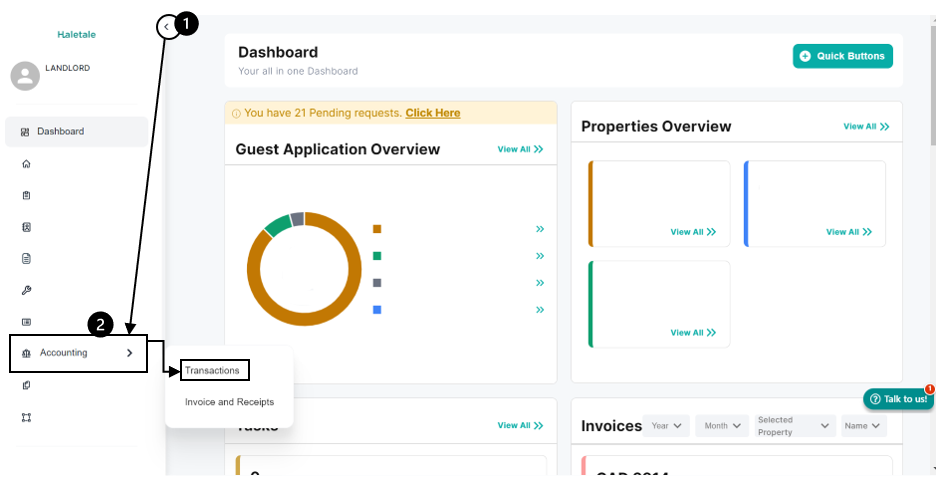
- Within the left side bar click on “Accounts” and then “Transactions”
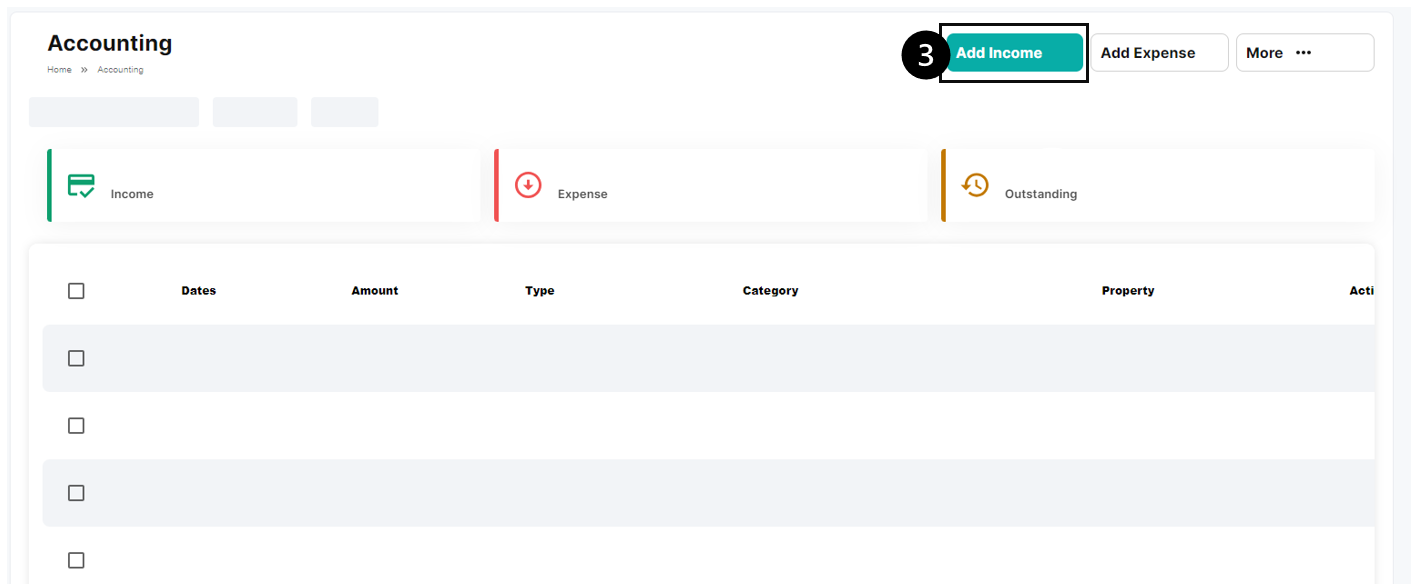
3. Click on “Add income”
4. Two types of income types A) Property based and B) General
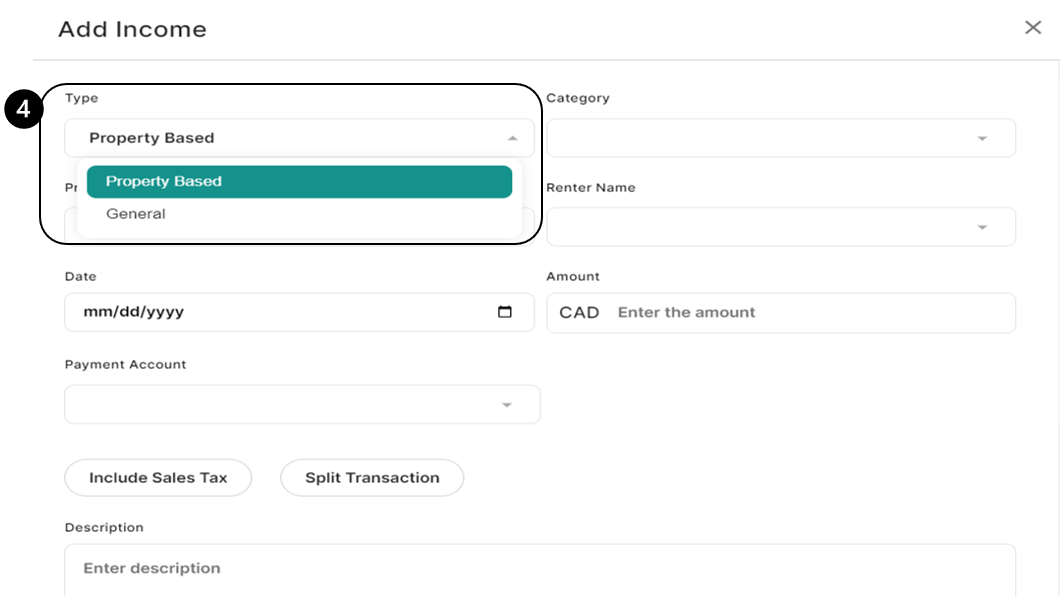
A) For Property based
- Select Income Type: Choose “property_based” to specify that the income is related to a property.
- Choose Category: Pick a category that best describes the nature of the income.
- Specify Property Address: Provide the property address associated with this income for accurate record-keeping.
- Enter Renter Name: Mention the name of the renter associated with this income.
- Set Date and Amount: Enter the date of the transaction and the amount in CAD for financial tracking.
- Choose Payment Account: Select the payment account through which this income was received.
- Include Sales Tax: Indicate whether sales tax applies to this income.
- Split Transaction (if needed): If the income needs to be split between multiple categories, use this option.
- Add Description: Provide a brief description to remind yourself of the income details.
- Attach Files (if needed): Optionally, attach any relevant files or documents.
- Generate Payment Request (if applicable): If you need to request payment, use this feature.
- Click “Add” to Confirm: Finally, click “Add” to complete the process and add the income to your records.
Or,
B) For General
- Select Income Type: Choose “general” to indicate that this income is not specifically tied to a property.
- Choose Category: Pick the appropriate category that best represents the nature of the income.
- Set Date and Amount: Enter the date of the transaction and the amount in CAD for accurate financial tracking.
- Choose Payment Account: Select the payment account through which this income was received.
- Include Sales Tax: Indicate whether sales tax applies to this income.
- Split Transaction (if needed): If the income needs to be split between multiple categories, use this option.
- Add Description: Provide a brief description to help you remember the details of this income.
- Attach Files (if needed): Optionally, attach any relevant files or documents.
- Generate Payment Request (if applicable): If you need to request payment, use this feature.
- Click “Add” to Confirm: Finally, click “Add” to complete the process and add the income to your records.