The Add Expense feature allows users to track and document property-related or general expenses, providing an organized way to enter expense details such as type, category, amount, dates, and payment information.
Here’s how it works in simple steps:
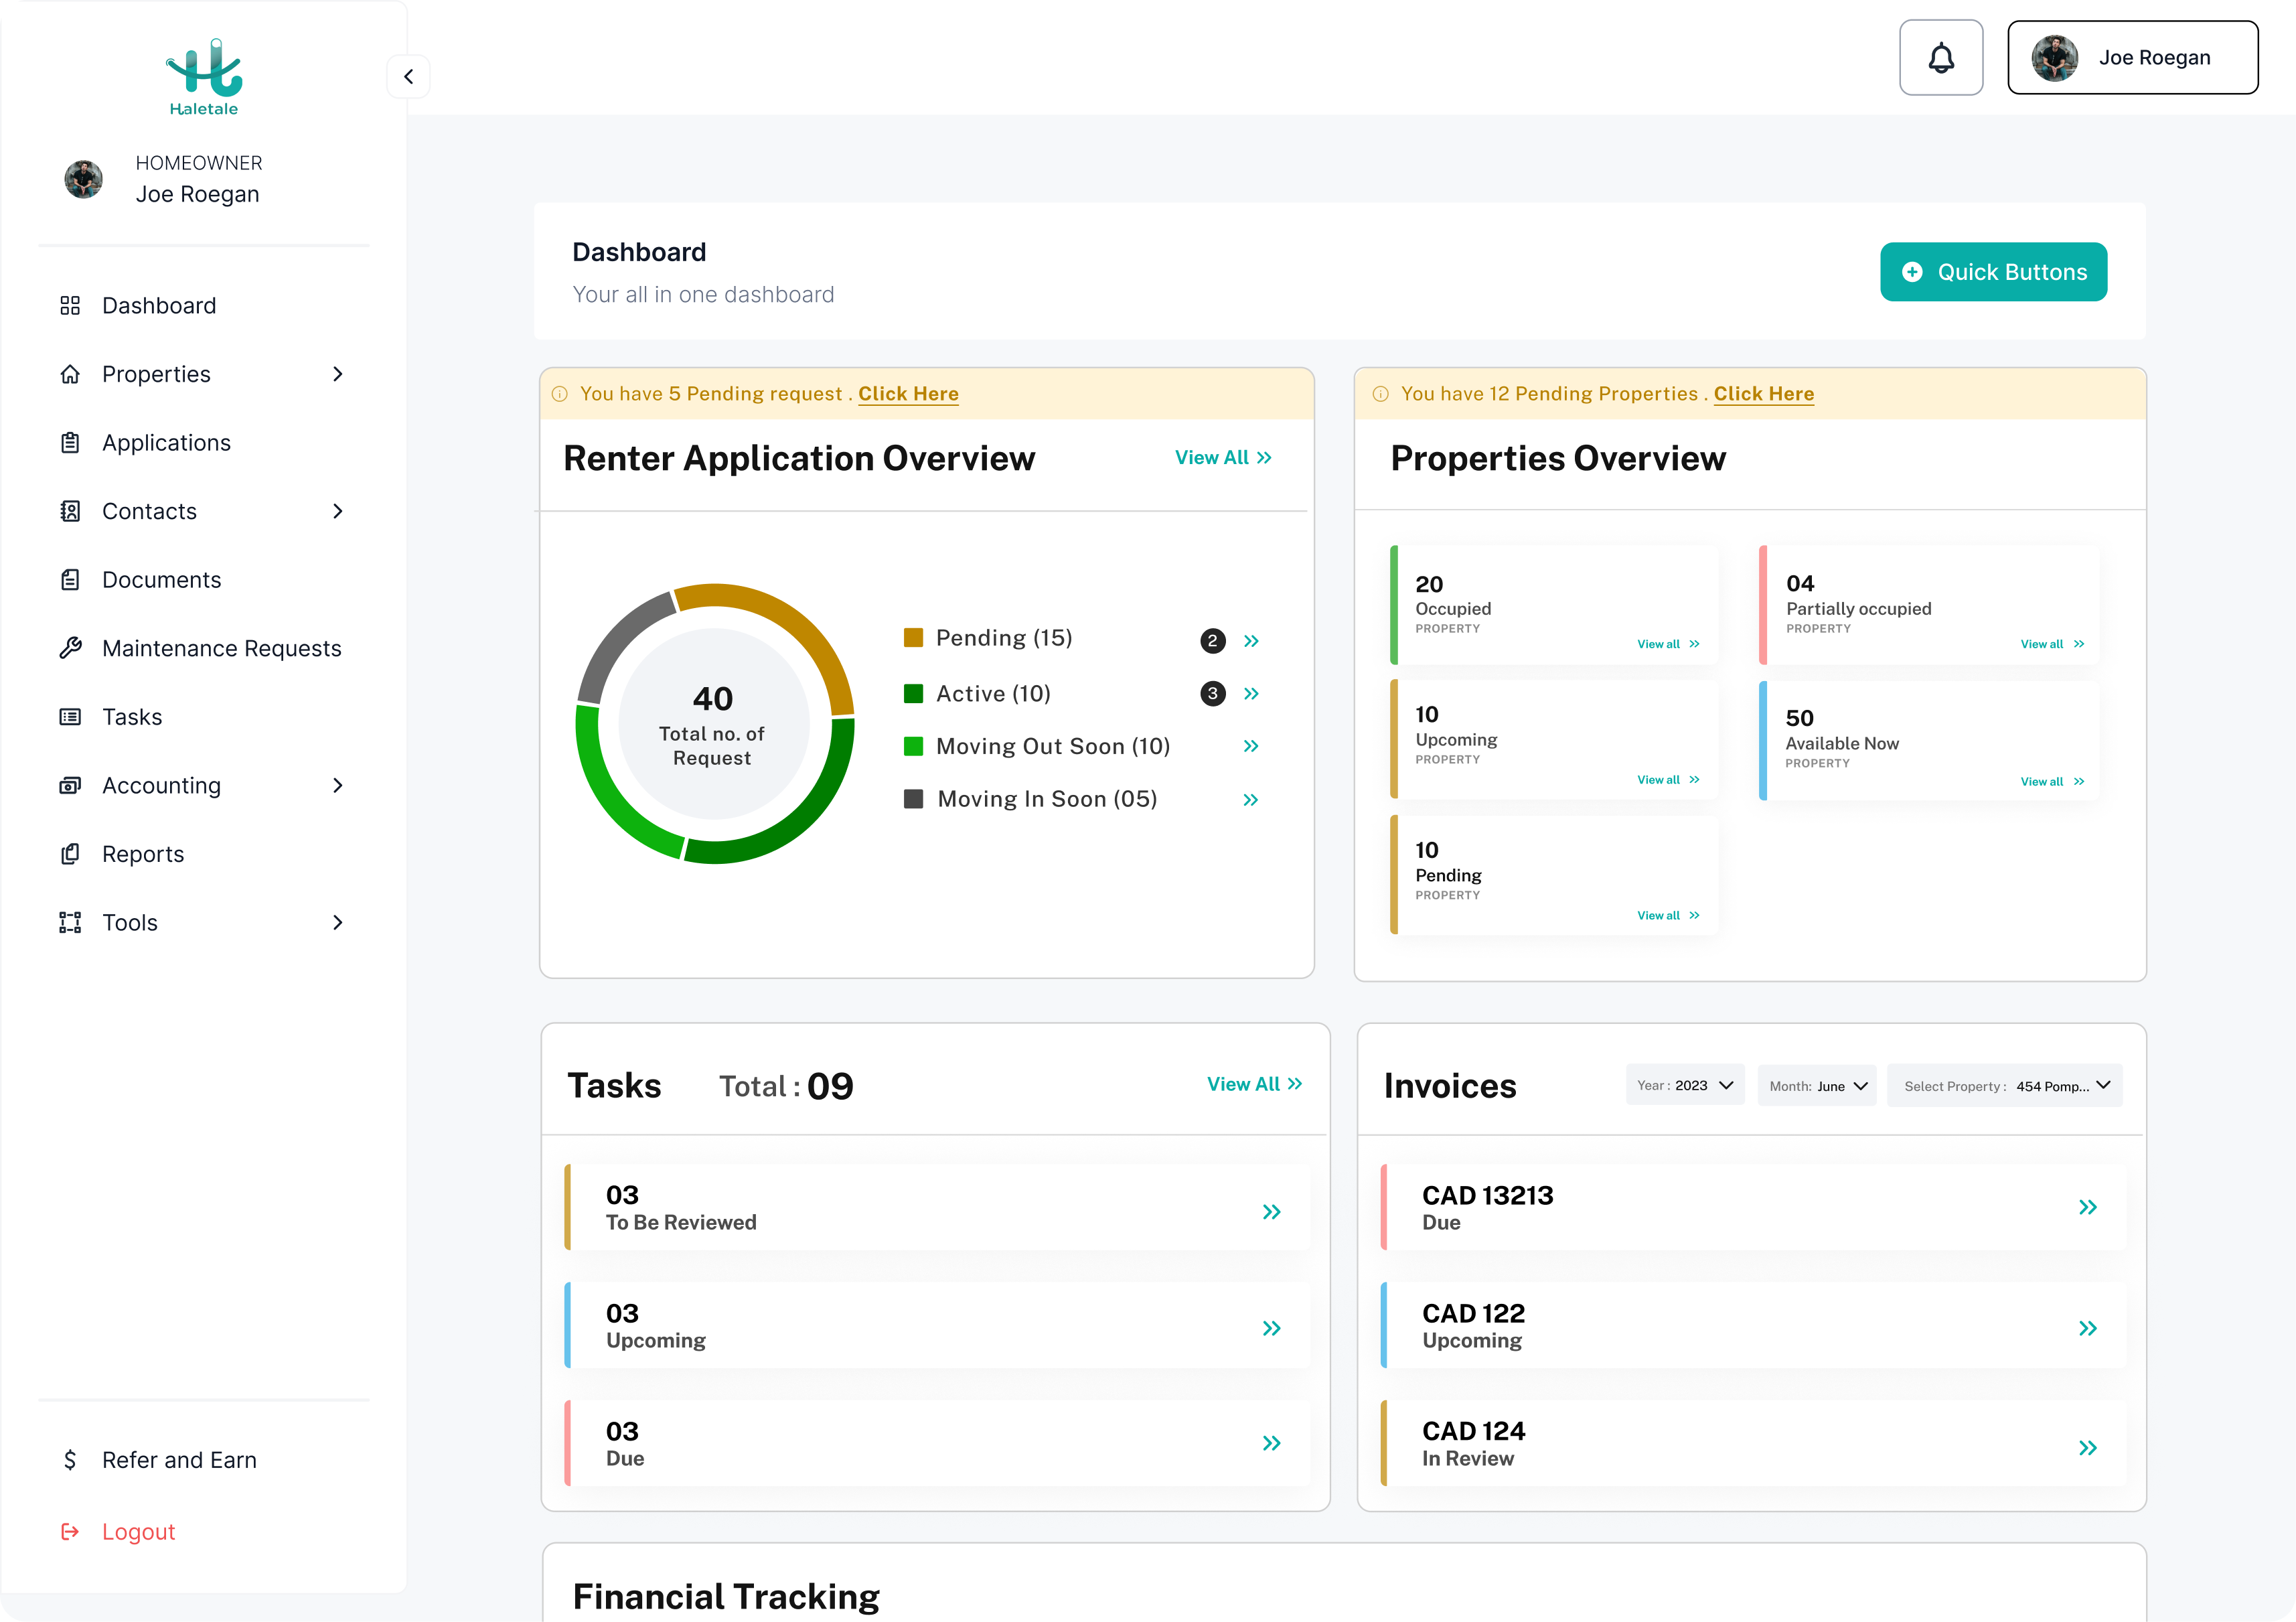
- In the Dashboard click on the left sidebar
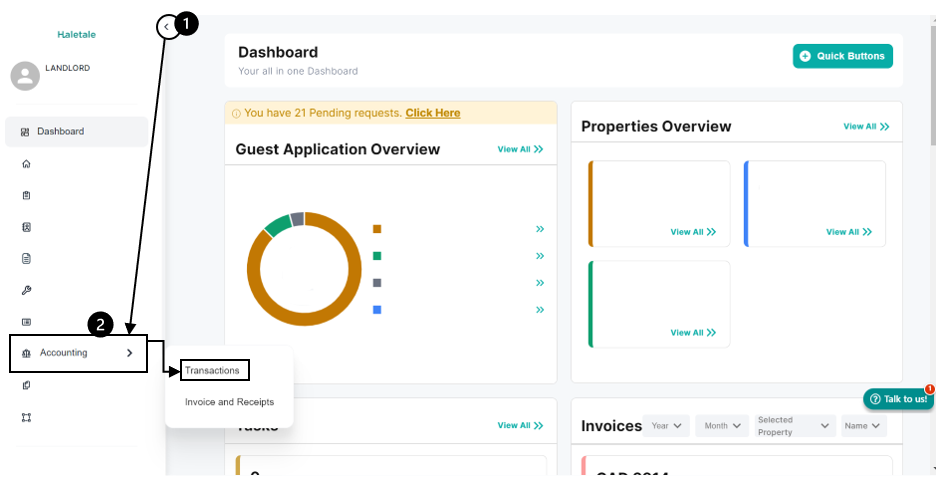
- Within the left side bar click on “Accounts” and then “Transactions”

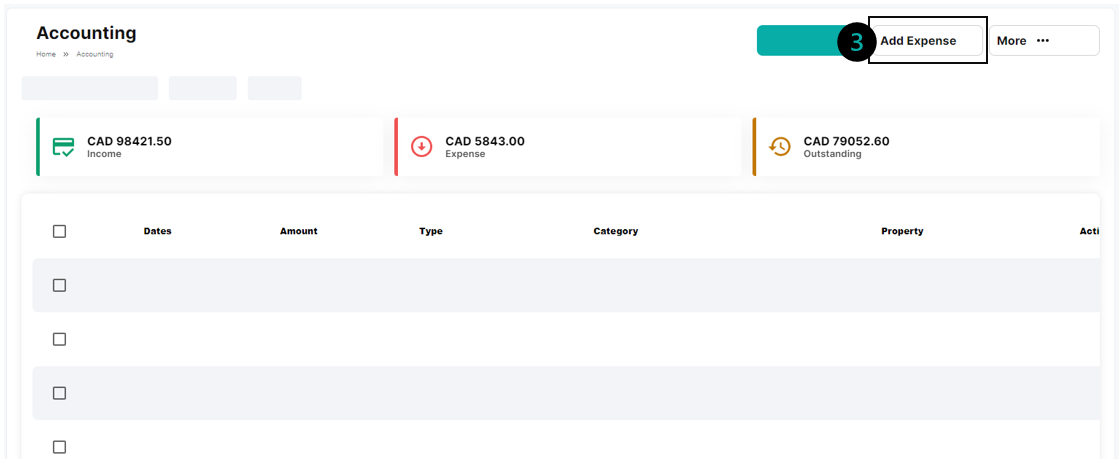
- Click on “Add Expense”
4. There are two types A) property-based and B) General
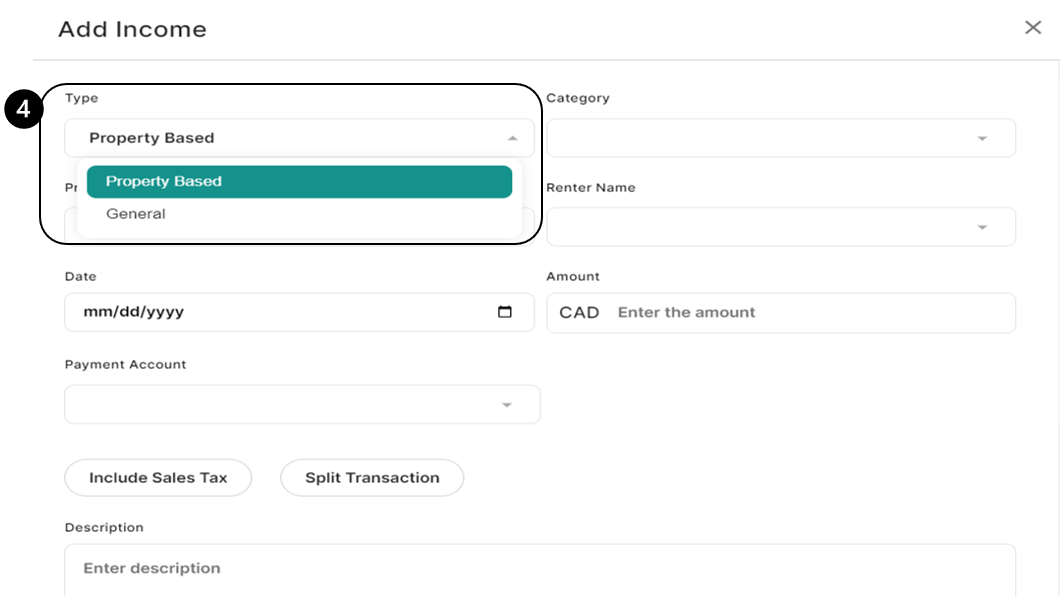
A) Property-based
- Expense Details: Choose “property-based” as the expense type.
- Category: Select a type for the expense.
- Amount: Enter the expense amount in CAD (Include Sales Tax if applicable)
- Type Date: Specify the billing date and payment date using the “Single-date” or “Duration” option accordingly (If selected “Duration” mention the start and end date for the duration)
- Billing Date (mm/dd/yyyy): The date on which the bill related to the expense is generated.
- Payment Date (mm/dd/yyyy): The date on which the payment is done.
- Payment Account: Choose the appropriate payment account.
- Attachment: Optionally, attach any relevant files.
- Paid by: Select who paid the expense and the associated liability “Property Manager” or “homeowner” (The Liability fields allow you to choose who is responsible for covering a particular expense).
- Payment Type: “Business Payment” or “Business Owner/Director Payment”
- Add Notes: Include any additional notes.
- Submit: Click “Submit” to add the expense to your records.
Or,
B) General
- Expense Type: Choose “general” as the expense type.
- Category: Select the appropriate category for the expense.
- Amount: Enter the expense amount in CAD.
- Date Details: Specify the billing date and payment date using the “single_date” option.
- Payment Account: Choose the relevant payment account.
- Attachment: Optionally, attach any necessary files.
- Payment Information: Select who paid the expense and the associated liability (The Liability fields allow you to choose who is responsible for covering a particular expense).
- Add Notes: Include any additional notes related to the expense.
- Submit: Click “Submit” to record the general expense.